Tuesday, October 3, 2023

Wget - Howto install on OSX

 Steps I took to install wget on my OSX box.


$ /bin/bash -c "$(curl -fsSL https://raw.githubusercontent.com/Homebrew/install/HEAD/install.sh)


ADD homebrew to your PATH:


$ (echo; echo 'eval "$(/opt/homebrew/bin/brew shellenv)"') >> /Users/tgrubbs/.profile


$ eval "$(/opt/homebrew/bin/brew shellenv)"


brew install wget


Wget - Checking redirects

 When doing some troubleshooting or testing of redirects, wget can be a great option.


$ wget --max-redirect=0 -O - http://url_to_check.com


Sunday, October 1, 2023

WordPress - How to Migrate Site to new Server

 Scenario:  Migrate WordPress Sites from Ubuntu LAMP Server to a new Host

For years I have hosted some family WordPress sites on a Cloud server.  Needing to both upgrade it and move it to a new Cloud location, necessitated transferring the websites to a new host and not simply migrating the server.  There were multiple factors that led to this approach and I'm sure several ways to solve this problem.  However, I have needed to determine a good way to back up WordPress sites and a documented method of migrating test sites to production.

What I found that worked for me was the following steps and using the plugin (Duplicator).  I have now migrated numerous sites using this method both from on-prem servers and from cloud to cloud.

STEPS:

  • Setup new location (LAMP Server)

  • Create a new database and database user (on the new server) that will be used for the website.  

    • Does not need to match the old website/database. Data will be imported into the new database.

    • Database Config
      • $ sudo mysql -u root

      • Type 'help;' or '\h' for help. Type '\c' to clear the current input statement.

      • mysql> CREATE DATABASE newdatabasename;

      • mysql> CREATE USER newdatabaseuser@localhost IDENTIFIED BY '<your-password>';

      • mysql> GRANT SELECT,INSERT,UPDATE,DELETE,CREATE,DROP,ALTER

      •     -> ON newdatabasename.*

      •     -> TO newdatabaseuser@localhost;

      • I ran into problems with one import and it required that I "GRANT ALL" to the newdatabaseuser for the full import of the website to work.

      • mysql> FLUSH PRIVILEGES;

      • mysql> quit


  • Create a new folder in the new location (/var/www/newsite)

  • Install “Duplicator” Plugin on the current site

    • Run Duplicator and create a package

    • On Some older Mysql installations, I had to change the following setting

      • Duplicator -> Settings -> Packages -> SQL Mode -> 

        • Change from Mysqldump to PHPcode

  • Download both the .zip and installer.php files to my local machine

  • SCP -> New Server/Location

    • You can use whatever method you want to move the files from the server to the new host/server.
  • Copy both files to the new directory on the new server

  • Unzip .zip file or when you run the the Installer.php file, it will ask for the .zip file and unzip it as part of the installation process.

  • Change ownership & permissions on the new location (before running the installer.php)

    • chown -R www-data:www-data /var/www/newsitelocation

    • chmod -R 755 /var/www/newsitelocation

  • Run Installer (installer.php)

Thursday, January 19, 2023

Fortigate - IPsec Troubleshooting

 Today I was troubleshooting an IPsec VPN and needed to check the status of the VPN connection and if the hardware crypto card/acceleration was being utilized or offloaded to the CPU/Software.  

From the CLI:


diag VPN tunnel list name <name of IPsec Tunnel>


Watch/sniff packets, much like a tcpdump:

diag sniffer packet <name of IPsec Tunnel> "" 4 50 l

Show Routing Table Info:

get router info routing table all


Show state of Hardware Acceleration:

diagnose VPN ipsec status


Sunday, January 15, 2023

Terraria - Ubuntu Installation Instructions

 Setting up a Terraria server is very simple and can be done very quickly. First, we need to complete a few steps. 

Prerequisites:

You will need an IP address to play with other players. Follow this guide to purchase one for your Shell. 

IP Address Guide

Update and install tools:

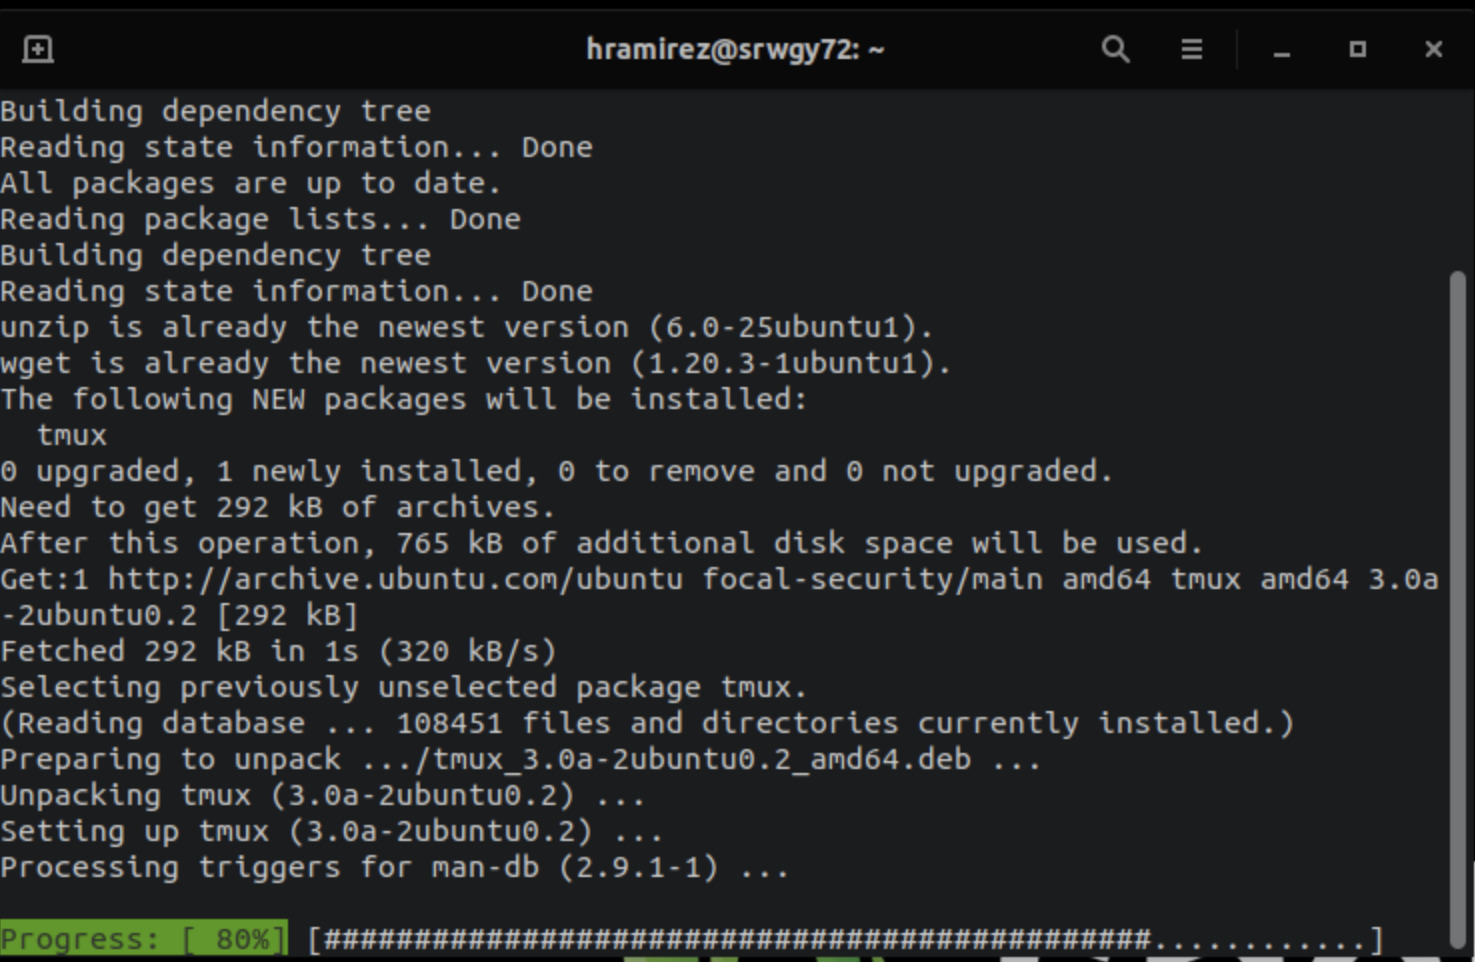
sudo apt update 
sudo apt install -y wget tmux unzip
Server files Download

Download the latest version of the Terraria server software at the following link:

TIP - you will likely need to right click on the version of Terraria that you want, copy link location and then type the command 'wget' followed by pasting the link to the download.  This will download that version of Terraria to your current location on the linux server.

Example: 

If you were to want Terraria 1.4.3 version, your command would look like the following:


wget https://terraria.org/api/download/pc-dedicated-server/terraria-server-143.zip

Downloads (link to Terraria Server Downloads)

Once downloaded, within the downloads folder, run the following command

Unzip <Name of the downloaded server file>

Example:

If following the wget example above, and downloading the terraria-server-143.zip file...your command would look like this.

Unzip terraria-server-143.zip


Navigate to the directory: 

cd 1412
cd Linux

Add executable permissions

sudo chmod +x TerrariaServer.bin.x86* 

Launch the server

./TerrariaServer.bin.x86_64

Finally,

~/.local/share/Terraria/Worlds/

The screenshot above lists the new world I created "Hworld". To create your own type "n" and it will prompt you for a name and difficulty level. 

Set the maximum number of players: I set mine to the max of 16

Set the port: Hit enter to use the default, 7777.

Enable port forwarding: type "y"

Set your password: I entered none since I prefer no passwords for my server.

To connect to the server, simply Launch Terraria and select multiplayer > join via IP. Then select a player and when asked for an IP type "localhost"